I have been working my way through a couple of lovely books based on the home and living a simpler life.
Lemons and Lavender and The Edible Balcony have inspired me to try and live more in line with what I can make or produce rather than just purchase.
Not that I am going to go all hippy and say I won't eat anything I can't personally produce and I will never enter another shop again but I have been giving the produce more, purchase less lifestyle a bit of a run to see how it fits.
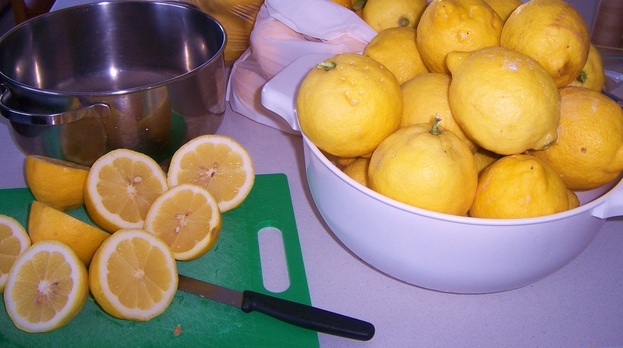
So far I have produced a few big batches of my own home-made lemonade, which has been very tasty (even if I do say so myself) and grown my own salad sprouts. Wow, that is
ground breaking I can hear you gasp! O.K even I know it's not but you have to start somewhere and to be honest I have actually enjoyed these couple of little changes. I usually only drink water (sometimes a small glass of coke - but only if it has alcohol in it, or really what's the point) so having a cool glass of my very own home made lemonade was just lovely. I am even looking at picking mint from my garden and freezing a few leaves with water into ice cubes as a refreshing addition to it.
I know - look at me go!
The only reason I decided to grow salad sprouts was so that I could show my two year old how something went from being a seed to something we could eat but I actually got much more satisfaction out of the process than I ever thought I would. I really loved adding my yummy little sprouts to meals and they gave my salads a little something extra, made me feel fuller and actually helped me feel a little lighter. Nice.
Anyhoo, I will leave you with my lemonade recipe and a how to grow sprouts - just in case you are inspired to take action.
I googled a lot of different lemonade recipes but basically just played around with it until I created something which made me happy.
Lemonade
Ingredients
*
Lemon juice
*
Water - use twice as much water as you have lemon juice, (if you don't want it too tart you can even have three times as much water)
*
Castor sugar (some recipes mention 2 to 3 cups of castor sugar, but I would rather add a little more water to soften the lemonade than too much sugar - so pour in half to one cup and taste it to see how you like it. Once the sugar has evaporated of course. If it's not sweet enough - add some more)
Process
Pour ingredients into a big pot heat it up on the stove until the sugar evaporates. Let it cool down. Drink. (Told you it was easy)
Sprouts
There are heaps of links on you tube with people showing you how to go about growing your own sprouts. Some of the videos take longer to watch than it takes to grow the actual sprouts. So I really liked this one.
I also liked the fact it demonstrated how to grow them using equipment from around the house instead of having to go out and buy fancy schmancy sprout growing equipment from the shops.
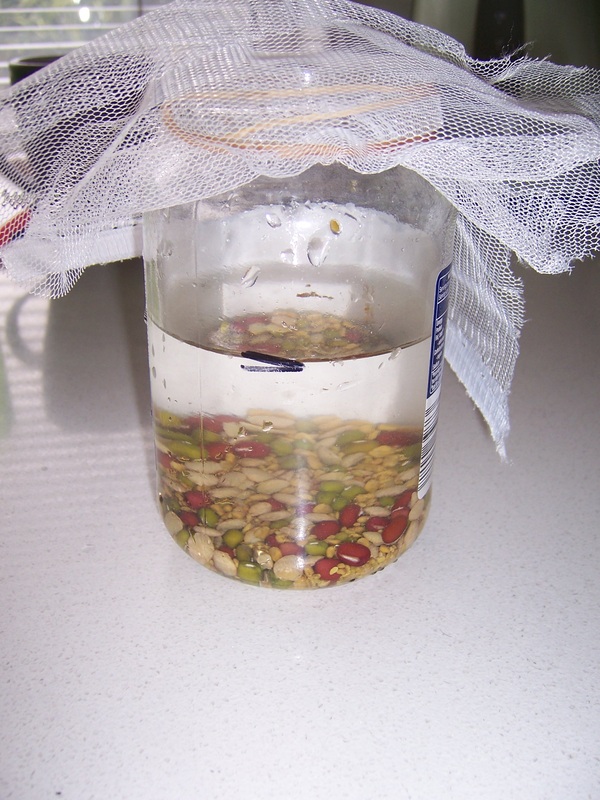
I used a sprout salad mix. This is how much I put in to start with and soaked them for 8 hours. Next time I will put a little less in.
|
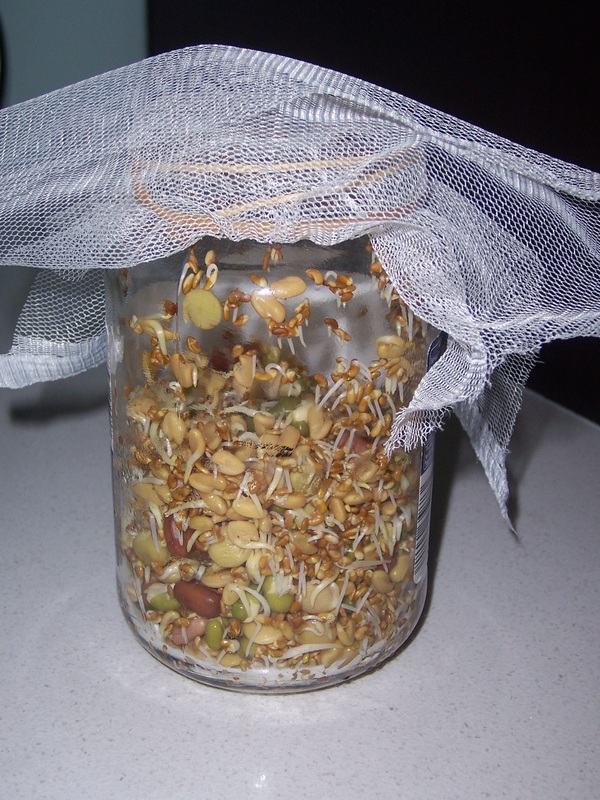
Two days later. Still expanding and now starting to sprout.
|
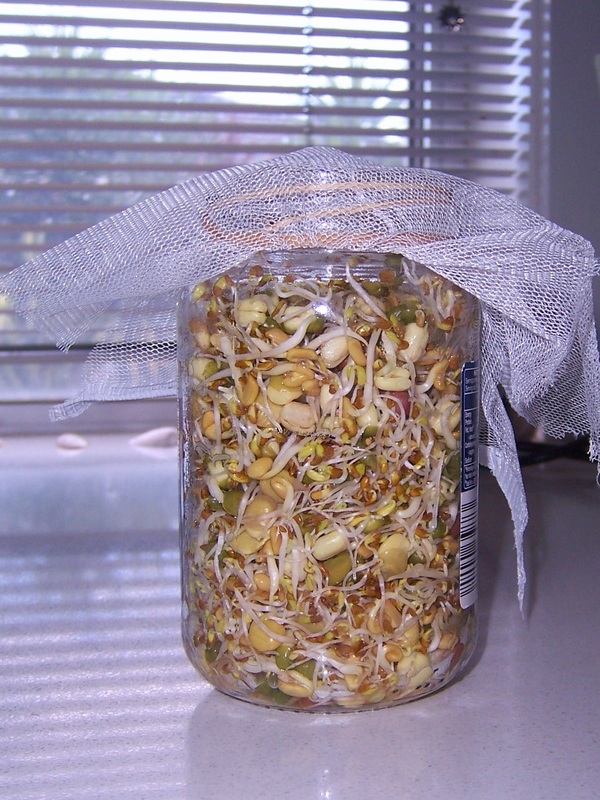
This was day three and they were ready to start adding to my salads.
|
At the very least this was a great little project to get a small person involved with because it didn't require expensive equipment and didn't create a huge mess.
Do you have any simple living tips you would like to share?
Cheers
Lee
Being very stylish as I am (OK, so I'm not - but one can only try) I wanted to share with you a tip I came across very recently for posing as a yummy mummy (who can afford the time and upkeep of actually being one).
This tip requires medium to long hair, a brush, a hair tie, some bobby pins and a sock.
Yep, you read it right, a sock.
I came across this tip for the sock bun the other day on pinterest.com (if you are not on pinterest, you are seriously missing out) and then I watched some videos on you tube (so I can't actually attribute one person as my source for this). I have put together a couple of images to show you how easy it is to go from "just got home from the gym and can't be bothered washing and drying my hair" to " going out to lunch or to the school pickup or whatever and feeling a little fabulous".
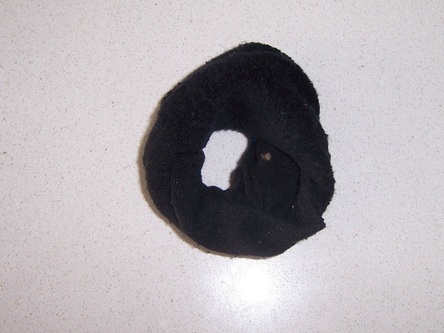
As mentioned the first thing you will need is a sock. Choose one a similar tone to your own hair colour (i.e. if you have dark hair choose a dark sock) it doesn't have to be a perfect match and cut the end (where your toes would normally sit) off.
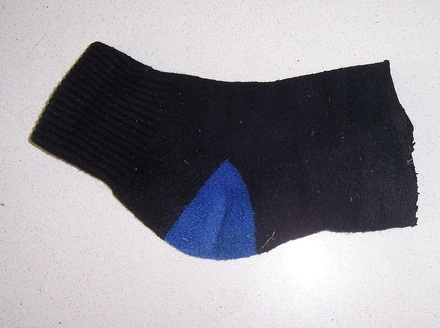
This was my sons sock - there was only one. It had no mate. It went to sock heaven .... I don't know where that is but a lot of my socks seem to have gone there. Just single ones though....
Roll the sock down on itself, like a sock scrunchie - it looks kind of like a sock donut.
Now this last bit was too hard to photograph and do at the same time so I just have to use words and then show you the finished look (I am a very visual person and like images myself, so type sock bun into youtube if my instructions aren't cutting it for you).
Brush your hair into a high ponytail using an elastic hair tie. Then slide just the end of your ponytail into the sock donut. Roll the tips of your hair over the donut to sort of cover it with hair and tuck the ends back into hole of the donut from underneath. You are effectively rolling your hair over and into the donut. Then just keep rolling the donut down the length of your ponytail while tucking the hair inside the donut as you go.
When you get to the base of the ponytail (your head) you can pin it into place for extra hold.
You might ask why you should bother with the whole sock shenanigan and not just whip your hair up into a regular bun, so I have included a before and after shot to demonstrate the difference.
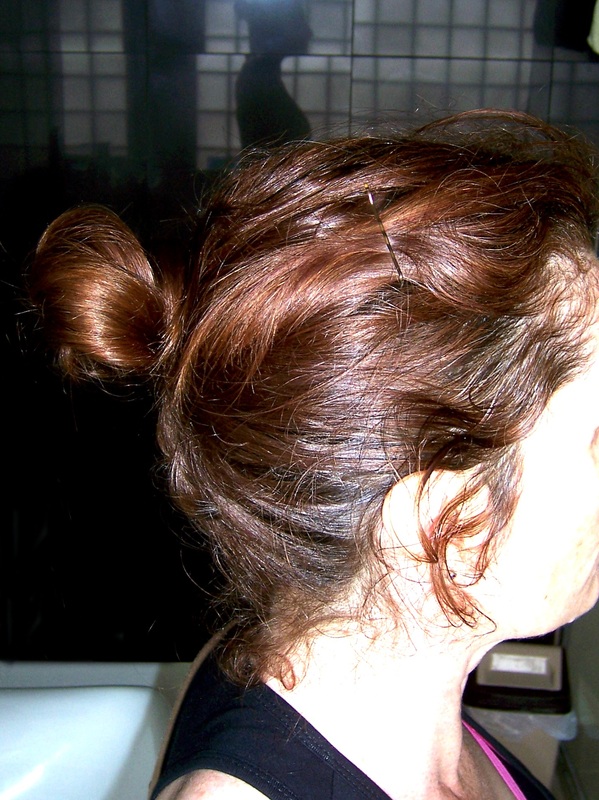
BEFORE - with my going to the gym bun
|
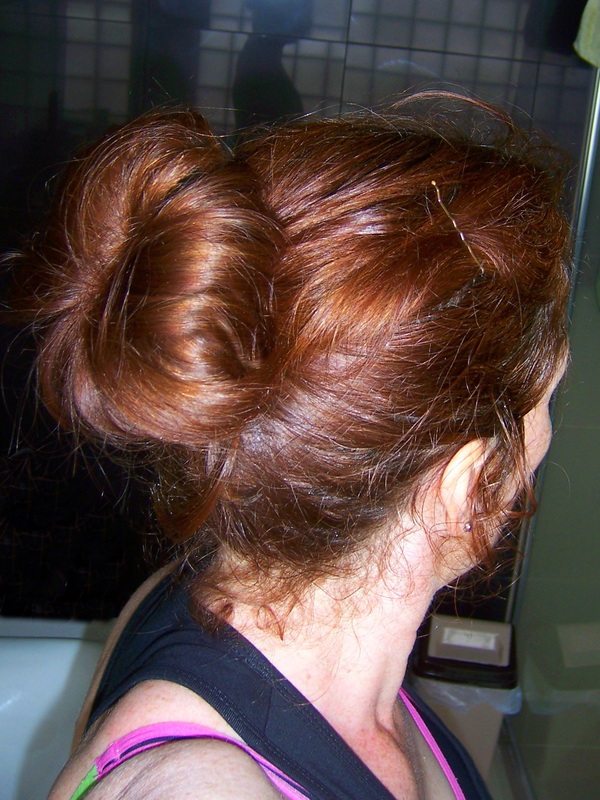
AFTER - with my glamorous new do.
|
You could add a flowery clip for some extra glamour and a swipe of lippy.
You should be good to go then glamour puss.
That's all, I just wanted so share this with you. You can actually buy hair donuts from the shops but I thought it was nice to be able to feel a bit special with stuff I already had lying around the house.
I would love to hear any cheap and easy tips for looking fabulous you would like to share.
Cheers,
Lee




 RSS Feed